Raspberry Pi Media Server Setup Tutorial for Tech Enthusiasts
Category: Embedded Systems
Unlock Your Raspberry Pi's Potential with a Media Server
If you're a tech enthusiast, hobbyist, or developer fascinated by embedded systems and microcontroller projects, you're likely always on the lookout for clever ways to leverage your Raspberry Pi. One of the most rewarding projects you can tackle is setting up a dedicated media server package that transforms your compact device into a powerhouse for streaming and managing your digital entertainment library. This tutorial is tailored for those who have some programming experience in Python or C/C++, and want a comprehensive, practical guide that goes beyond the basics. We understand that the tech world is full of guides that often skip steps or assume high expertise, leading to frustration and wasted time. This post cuts through the noise by offering a logical, well-structured walkthrough, addressing hardware selection, software installation, network configuration, and performance optimization. Whether you want to serve up movies, music, or photos across your home network or make your Raspberry Pi a hub accessible on the go, this tutorial has you covered. We'll also delve into advanced customization, leveraging your programming skills to fine-tune your media server environment. Keep reading to harness your Raspberry Pi's full capabilities and create a versatile, reliable media server tailored to your needs.
- Unlock Your Raspberry Pi's Potential with a Media Server
- Understanding the Benefits and Use Cases of a Raspberry Pi Media Server
- Choosing the Right Raspberry Pi Model and Accessories for Your Media Server
- Preparing Your Raspberry Pi: Installing Raspberry Pi OS and Essential System Updates
- Selecting the Media Server Software: Plex, Jellyfin, vs Kodi
- Installing and Configuring Your Chosen Media Server Software
- Setting up Network Configuration and Remote Access
- Optimizing Performance and Storage Management
- Customizing Your Media Server Experience Using Programming Skills
Understanding the Benefits and Use Cases of a Raspberry Pi Media Server
The Raspberry Pi stands out as an ideal platform for building a media server due to its low cost, compact size, and energy efficiency. Unlike bulky and power-hungry traditional servers, the Raspberry Pi offers a silent, affordable, and always-on solution that fits perfectly in any home environment. Its versatility allows it to handle diverse media formats and streaming protocols, making it well-suited for personalized digital entertainment needs.
Why Choose Raspberry Pi for Media Serving?
- Cost-Effective Hardware: The Raspberry Pi hardware is budget-friendly yet powerful enough to stream HD videos, manage music libraries, and serve photos across multiple devices without significant lag.
- Low Power Consumption: Operating at just a few watts, a Pi-based media server is energy-efficient, making it suitable for continuous use without incurring high electricity costs.
- Flexibility and Customization: Open-source media server software like Plex, Jellyfin, or Kodi can easily be installed and customized on the Raspberry Pi. This offers the freedom to tailor your setup using familiar programming languages such as Python and C/C++.
- Compact and Quiet: Its small footprint and lack of noisy fans allow you to place the media server anywhere in your home without disruption.
- Wide Community Support: A vast community of Raspberry Pi enthusiasts and developers ensures constant improvements, troubleshooting help, and innovative project ideas.
Ideal Use Cases for a Raspberry Pi Media Server
- Home Streaming Hub: Deliver movies, TV shows, and music to multiple devices like smart TVs, smartphones, tablets, or computers within your home network.
- Remote Media Access: Configure your server for secure outside access, allowing you to enjoy your media library while traveling or at work.
- Media Backup and Management: Organize and centralize all your multimedia files from different devices and achieve automatic syncing and backups.
- Lightweight Development Platform: Use it as a testing ground for media software development and network streaming protocols, combining programming skills and embedded system knowledge.
- Multi-User Environments: Support simultaneous streams for families or roommates without needing expensive commercial servers.
Leveraging the Raspberry Pi as a media server merges the power of embedded systems with practical home entertainment, creating a versatile and efficient solution that fits perfectly into numerous scenarios—making it an excellent project for anyone passionate about microcontrollers, programming, and creative tech applications.

Image courtesy of MART PRODUCTION
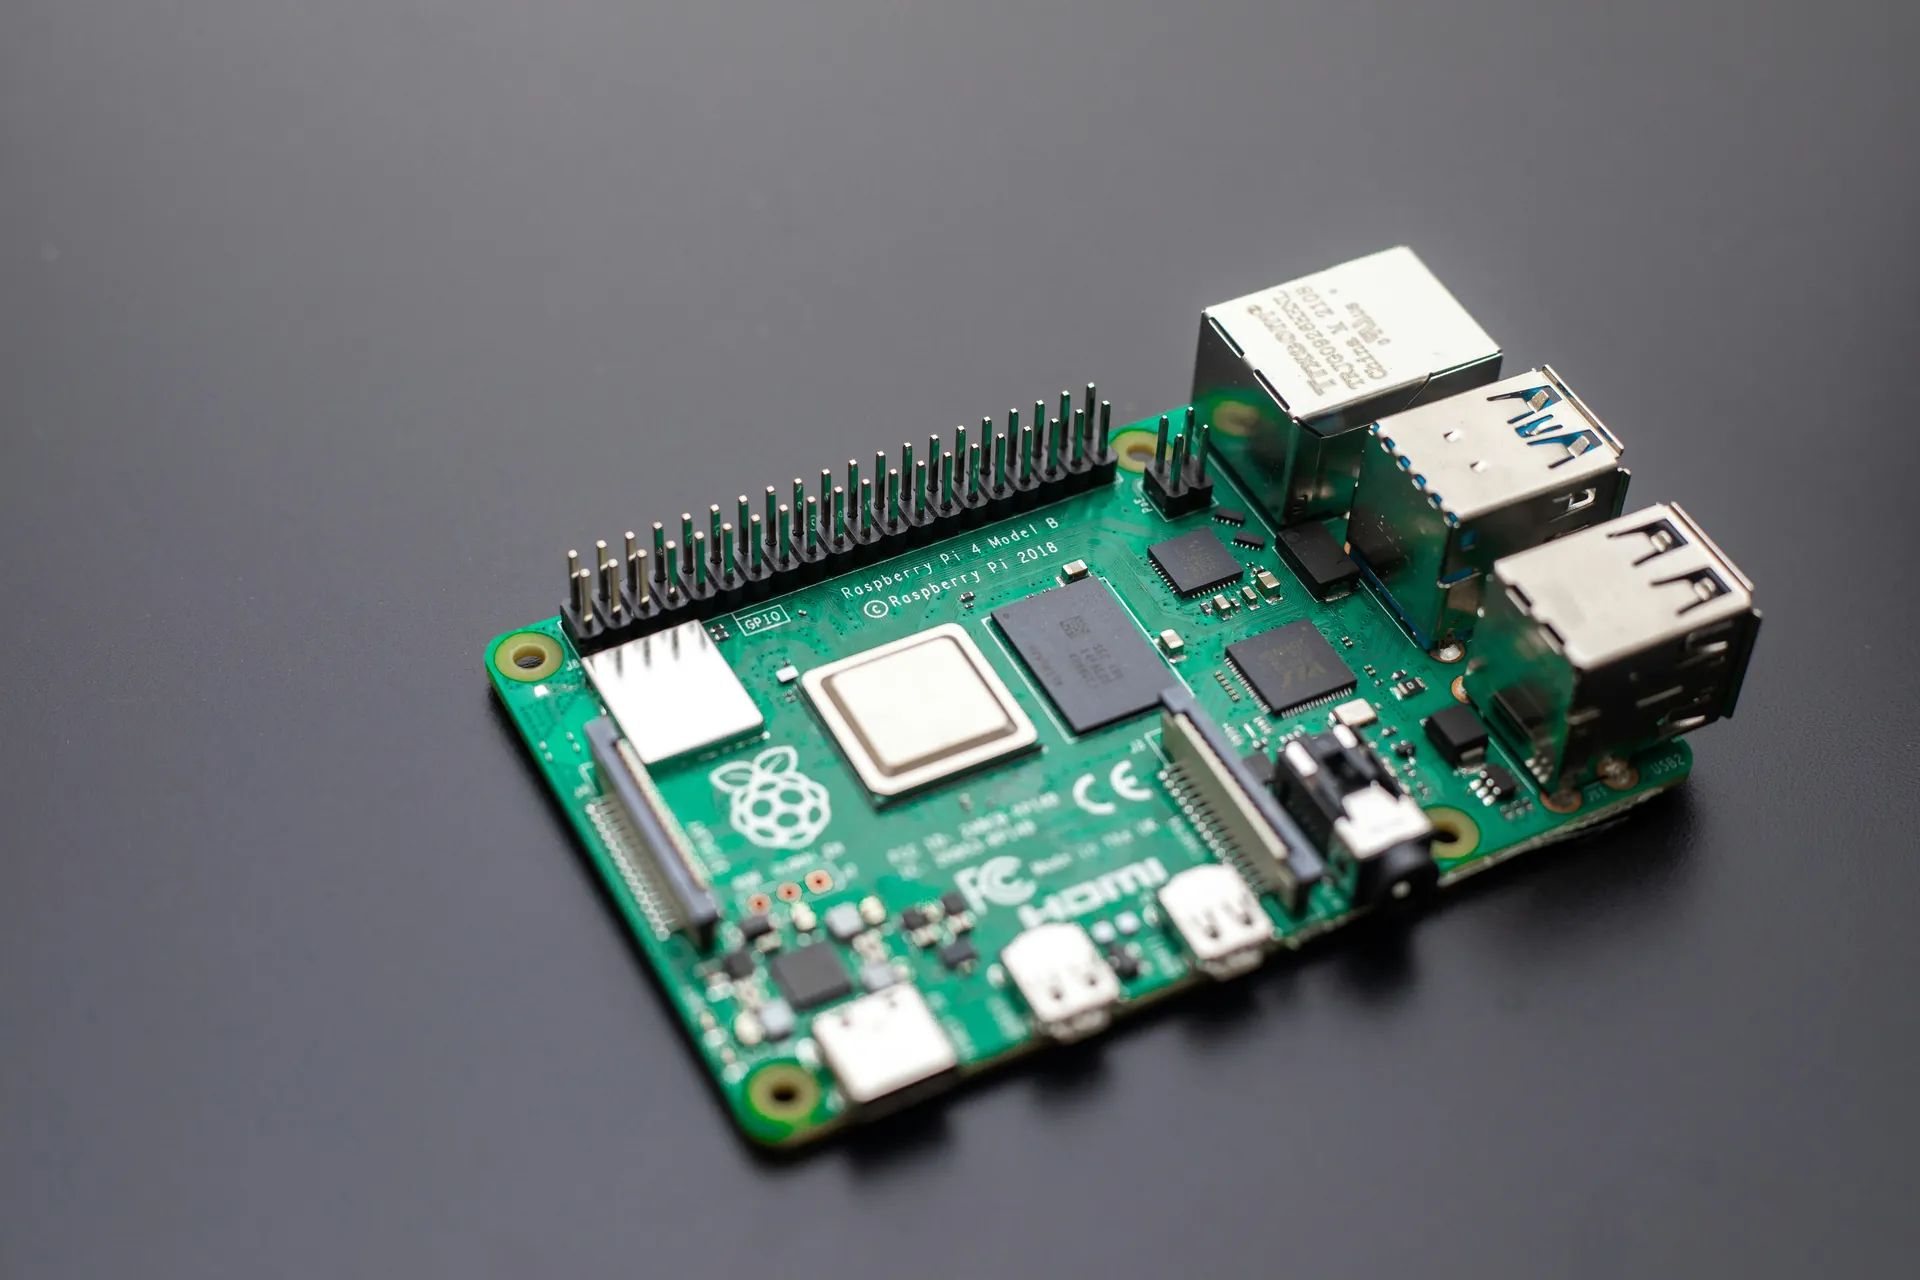
Choosing the Right Raspberry Pi Model and Accessories for Your Media Server
Selecting the appropriate Raspberry Pi model and complementary hardware is crucial to building a smooth, reliable, and high-performance media server. While many Raspberry Pi versions exist, choosing one that balances processing power, connectivity, and cost will directly impact your media streaming experience.
Recommended Raspberry Pi Models for Media Servers
-
Raspberry Pi 4 Model B
The Raspberry Pi 4 is the top choice for a media server due to its significantly improved CPU performance, availability of up to 8GB RAM, and native gigabit Ethernet. Its USB 3.0 ports enable faster data transfer from external storage devices, making it ideal for streaming high-definition videos and handling multiple simultaneous streams. -
Raspberry Pi 400
Similar to the Pi 4 in terms of hardware, the Raspberry Pi 400 integrates the Pi into a compact keyboard. It's practical for setups that may double as a desktop and media server but offers the same robust network and peripheral support. -
Raspberry Pi 3 Model B+
While still capable, the Pi 3 B+ is better suited for lighter media server workloads, such as streaming music and SD-resolution video. Its 2.4 GHz and 5 GHz Wi-Fi support is decent, but the lack of USB 3.0 limits external storage performance.
Essential Accessories and Hardware Considerations
-
Storage Options
Since media libraries can grow extensively, choosing the right storage solution is vital. Using a large-capacity external SSD or HDD connected via USB 3.0 on the Pi 4 ensures faster read/write speeds and reliability compared to slower microSD cards. Network-attached storage (NAS) integration is also feasible for centralized file management. -
Network Peripherals
A stable and fast network connection guarantees uninterrupted streaming. The Pi 4 offers gigabit Ethernet, which is ideal for wired connections to your router, minimizing latency and jitter. For wireless setups, ensure your Pi model supports dual-band 802.11ac Wi-Fi and consider a quality USB Wi-Fi adapter if better range or speeds are required. -
Power Supply and Cooling
A 5V 3A official power supply is recommended to maintain stability during heavy workloads. Since media server tasks can push the processor, passive heatsinks or small fans help prevent thermal throttling, enhancing consistent performance over time. -
Optional Peripherals
Adding a case with good ventilation or a media center-friendly design can improve aesthetics and thermals. USB remote controls or Bluetooth adapters may further enhance usability for direct media playback control.
By carefully selecting the Raspberry Pi model and these key accessories, you lay a solid hardware foundation that supports efficient media streaming and management. This ensures your media server is robust, scalable, and future-proof for handling evolving multimedia demands.
Image courtesy of @beres kepes
Preparing Your Raspberry Pi: Installing Raspberry Pi OS and Essential System Updates
Before diving into media server software installation, setting up a solid and up-to-date operating system environment on your Raspberry Pi is critical for optimal performance and security. The foundation of a reliable media server lies in having the latest Raspberry Pi OS (formerly Raspbian) installed, paired with essential system updates and configuration tweaks tailored for server stability.
Installing Raspberry Pi OS: A Step-by-Step Guide
-
Download Raspberry Pi OS
Visit the official Raspberry Pi website and download the latest Raspberry Pi OS Lite image if you prefer a minimal, headless setup. For those who want a graphical interface, choose the Raspberry Pi OS with Desktop. The Lite version is generally preferred for media servers due to its lightweight footprint. -
Flash the OS Image to MicroSD Card
Use a tool like Raspberry Pi Imager or balenaEtcher to flash the downloaded image onto a high-quality, Class 10 microSD card (minimum 16GB recommended). This step ensures a clean OS install. -
First Boot and Basic Configuration
Insert the microSD card into the Raspberry Pi, connect your peripherals or headless setup via SSH, and power it on. The initial boot prompts you to: - Set up locale, timezone, and keyboard layout
- Change the default password for security
- Enable SSH for remote access, facilitating headless operation
Runningsudo raspi-configallows easy access to these options at any time.
Updating and Upgrading the System for Stability and Security
Once Raspberry Pi OS is installed, updating all system packages is pivotal to ensure compatibility with media server software and minimize vulnerabilities:
sudo apt update
sudo apt full-upgrade -y
sudo reboot
This updates the package index, upgrades all installed software to the latest versions, and reboots the device to apply changes.
Additional System Tweaks to Optimize Media Server Performance
-
Expand Filesystem
To utilize the full capacity of your microSD card, run:
bash
  sudo raspi-config
Then selectAdvanced Options>Expand Filesystem. -
Set a Static IP Address
Assigning a static IP improves server accessibility and network stability by preventing address changes that disrupt streaming devices. -
Enable Automatic Security Updates (Optional but Recommended)
Installing unattended-upgrades ensures your Raspberry Pi automatically receives critical patches without manual intervention:
bash
  sudo apt install unattended-upgrades
  sudo dpkg-reconfigure --priority=low unattended-upgrades
By meticulously installing and preparing your Raspberry Pi OS system with these updates and configurations, you establish a robust and secure base layer. This groundwork significantly reduces issues during media server deployment and guarantees smoother operation whether you use Plex, Jellyfin, or other streaming platforms. Such attention to detail reflects best practices in embedded systems development and supports long-term reliability for your creative Raspberry Pi projects.
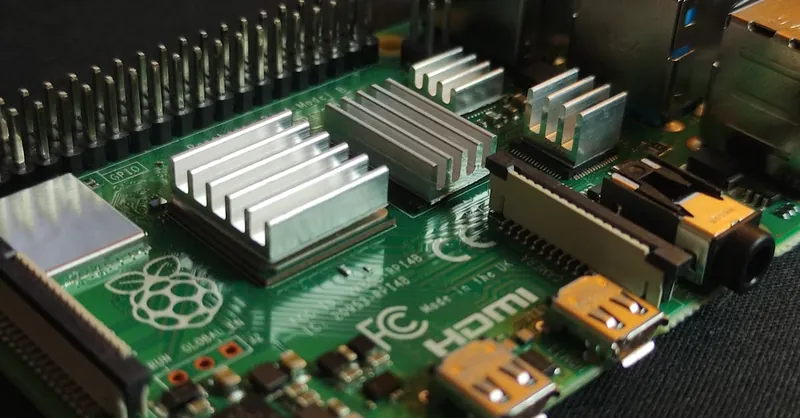
Image courtesy of Mathias Wouters
Selecting the Media Server Software: Plex, Jellyfin, vs Kodi
Choosing the right media server software is pivotal to your Raspberry Pi media server’s performance, usability, and customization capabilities. Popular options like Plex, Jellyfin, and Kodi each offer unique strengths and limitations, making it crucial to understand how they compare in terms of features, compatibility, and resource requirements—especially given the hardware constraints of a Raspberry Pi.
Plex: The Feature-Rich Commercial Favorite
Plex is widely acclaimed for its polished user interface, extensive device compatibility, and premium features such as cloud sync and offline downloads. Its server-client architecture makes it easy to stream media to a broad spectrum of devices—including smart TVs, mobiles, and web browsers.
- Pros:
- Intuitive and visually appealing interface
- Automatic metadata fetching and library organization
- Broad device support including Roku, Apple TV, Android, and iOS
- Useful premium features via Plex Pass subscription
- Cons:
- The free tier has feature limitations; some advanced functionalities require a paid subscription
- Closed-source elements limit customization
- Slightly higher resource usage, which may impact performance on lower-end Pi models
Suitability: Ideal for users seeking a straightforward "install and go" solution with sleek UI and multi-device streaming, particularly if you don’t mind occasional subscription fees and want extensive out-of-the-box media management.
Jellyfin: The Open-Source, Privacy-Focused Alternative
Jellyfin is an open-source media server forked from Emby, gaining popularity for its zero-cost, privacy-first approach without cloud dependencies. It offers robust features including live TV support, multi-user management, and comprehensive transcoding, all while running efficiently on Raspberry Pi hardware.
- Pros:
- Completely free and open-source with active community development
- Strong emphasis on privacy with no forced cloud integration
- Multi-user support with customizable profiles and parental controls
- Lightweight enough to run smoothly on Raspberry Pi 4 and Raspberry Pi 400
- Cons:
- User interface less polished compared to Plex, though steadily improving
- Setup can be more involved for beginners, requiring manual metadata handling in some cases
- Suitability: Best for tech-savvy users valuing open-source software with privacy control and customization, especially perfect for Raspberry Pi enthusiasts comfortable tweaking configurations and leveraging Linux command line tools.
Kodi: The Comprehensive Media Center Experience
Unlike Plex and Jellyfin, Kodi primarily functions as a local media center rather than a client-server streaming platform. It excels as an all-in-one media player for direct playback of videos, music, and images from attached storage or network shares. Kodi’s richness lies in its extensive plugin ecosystem and ability to run lightweight on Raspberry Pi OS with minimal setup.
- Pros:
- Highly customizable interface and add-ons for enhanced functionality
- Can operate fully offline and supports many file formats
- Integrates smoothly with various remote controls and input devices
- Efficient resource use suitable for modest Raspberry Pi models
- Cons:
- Lacks true server-client streaming architecture; remote access requires additional setup
- Less suited for centralized multi-device streaming compared to Plex/Jellyfin
- Relying on plugins can affect stability if not managed properly
Suitability: Perfect for users wanting a standalone media center directly connected to a TV or monitor, turning a Raspberry Pi into a flexible playback device without the complexity of network streaming.
Quick Feature Comparison Table
| Feature | Plex | Jellyfin | Kodi |
|---|---|---|---|
| Open Source | No | Yes | Yes |
| Cost | Free + Premium Option | Free | Free |
| Client-Server Model | Yes | Yes | No |
| Multi-User Support | Yes | Yes | Limited |
| Metadata Management | Automatic & Extensive | Semi-Automatic | Manual/Plugin-based |
| Device Compatibility | Very Broad | Broad | Local Playback Focus |
| Transcoding Support | Yes | Yes | Limited |
| Ease of Setup | Beginner-Friendly | Moderate | Beginner to Intermediate |
Selecting media server software depends heavily on your project goals and Raspberry Pi capabilities. For multi-device streaming with a premium feel, Plex shines. If open-source flexibility and privacy top your list, Jellyfin offers a robust alternative. For a standalone media center focused on local playback and customization, Kodi remains unmatched. In the next section, we will guide you through installing and configuring your chosen media server on your Raspberry Pi—ensuring optimal performance and seamless streaming tailored for your digital lifestyle.
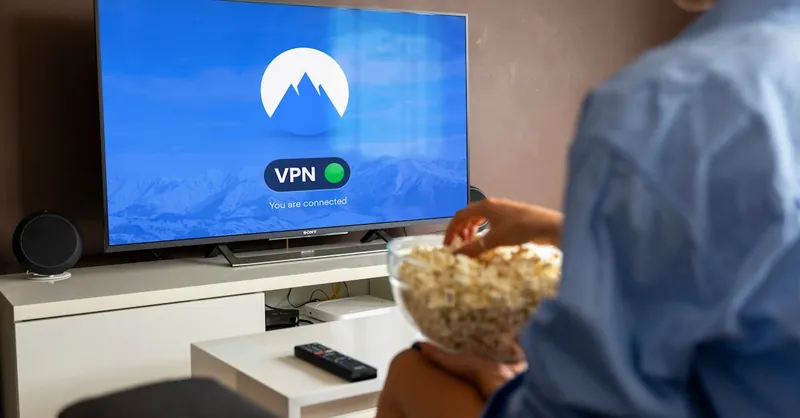
Image courtesy of Stefan Coders
Installing and Configuring Your Chosen Media Server Software
Once you've selected the ideal media server software compatible with your Raspberry Pi’s hardware and your streaming needs—whether it’s Plex, Jellyfin, or Kodi—the next critical step is installing and configuring it properly. This phase ensures your media server runs smoothly, efficiently organizes your library, and delivers flawless streaming across your devices.
Step-by-Step Installation Instructions with Command-Line Examples
Installing Plex Media Server on Raspberry Pi
Plex offers a streamlined installation process but requires the official Debian package for ARM architecture:
- Download the Latest Plex Package
wget https://downloads.plex.tv/plex-media-server-new/1.28.3.6421-xxxxxxx/debian/plexmediaserver_1.28.3.6421-xxxxxxx_arm64.deb
(Replace the URL with the latest package from Plex official downloads)
- Install the Package
sudo dpkg -i plexmediaserver_*.deb
- Start and Enable the Plex Service
sudo systemctl start plexmediaserver
sudo systemctl enable plexmediaserver
- Access Plex Web Interface
Open a browser and navigate tohttp://<your_pi_ip>:32400/webto begin the initial setup wizard, where you can create libraries and add media folders.
Installing Jellyfin on Raspberry Pi
Jellyfin’s open-source nature simplifies installation via the repository:
- Add Jellyfin Repository & Key
curl -fsSL https://repo.jellyfin.org/debian/jellyfin_team.gpg.key | sudo gpg --dearmor -o /usr/share/keyrings/jellyfin-archive-keyring.gpg

echo "deb [arch=$(dpkg --print-architecture) signed-by=/usr/share/keyrings/jellyfin-archive-keyring.gpg] https://repo.jellyfin.org/debian bullseye main" | sudo tee /etc/apt/sources.list.d/jellyfin.list
- Update and Install Jellyfin
sudo apt update
sudo apt install jellyfin
- Start and Enable Jellyfin
sudo systemctl start jellyfin
sudo systemctl enable jellyfin
- Configure via Web UI
Access Jellyfin athttp://<your_pi_ip>:8096to set up users, add media libraries, and configure transcoding settings for optimal playback.
Installing Kodi on Raspberry Pi
Kodi often runs as a standalone app on Raspberry Pi OS or as part of LibreELEC:
- Install Kodi via apt
sudo apt update
sudo apt install kodi
- Launch Kodi
Run Kodi with:
kodi
Or configure it to start on boot for a dedicated media center experience.
Initial Setup and Library Integration Tips
-
Organize Media Files Properly:
Structure your media directories clearly (e.g.,/media/movies,/media/music) and use consistent naming conventions to ensure smooth metadata scraping. -
Configure Network Shares:
Mount external drives or NAS shares at boot using/etc/fstabso your media server software can access your entire library consistently. -
Metadata Handling:
Plex and Jellyfin automatically fetch metadata like cover art and descriptions; ensure your media files’ naming matches recognized standards for best results. -
Adjust Transcoding Settings:
On Raspberry Pi, hardware acceleration options (such as VA-API or OMX) in Plex and Jellyfin can dramatically improve streaming performance and reduce CPU load. -
Enable User Access Controls:
For multi-user environments, set permissions and profiles to tailor media access and parental controls.
By following these detailed installation and setup steps, you guarantee a high-performing Raspberry Pi media server that integrates seamlessly with your existing network and media collection. Proper configuration not only enhances streaming quality but also leverages the Raspberry Pi’s hardware capabilities to deliver a reliable and customizable entertainment hub tailored for your embedded systems projects and digital lifestyle.
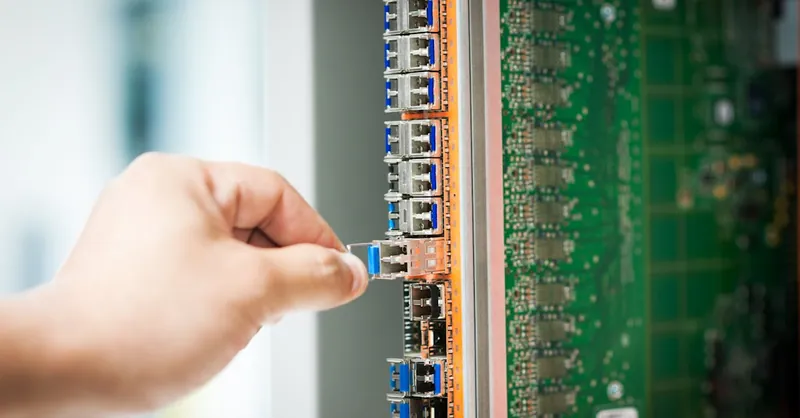
Image courtesy of panumas nikhomkhai
Setting up Network Configuration and Remote Access
A solid network configuration is vital for the stability and accessibility of your Raspberry Pi media server, whether you’re streaming content locally or remotely. Properly configuring a static IP address, managing firewall rules, setting up port forwarding on your router, and securing remote connections ensures your media server remains reliably reachable while minimizing exposure to security risks.
Configuring a Static IP Address
Assigning a static IP to your Raspberry Pi prevents IP address changes that can disrupt media streaming and remote access. You can configure this either via your router’s DHCP reservation or directly on the Raspberry Pi:
- Edit the DHCP client configuration:
sudo nano /etc/dhcpcd.conf
- Add static IP settings at the file’s end (adjust to your network):
interface eth0
static ip_address=192.168.1.100/24
static routers=192.168.1.1
static domain_name_servers=192.168.1.1 8.8.8.8
- Save and reboot for changes to take effect:
sudo reboot
Using a static IP makes connecting to your media server seamless both on your home network and when configuring remote access.
Firewall Configuration with UFW
To protect your Raspberry Pi from unauthorized access, especially when exposed to the internet, enable and configure a firewall such as Uncomplicated Firewall (UFW):
- Install UFW if not already installed:
sudo apt install ufw
-
Allow necessary ports based on your media server software:
-
For Plex, allow TCP port 32400
- For Jellyfin, allow TCP port 8096 (default) and 8920 (HTTPS) if enabled
- For SSH remote access, allow TCP port 22
Example:
sudo ufw allow 32400/tcp
sudo ufw allow 22/tcp
sudo ufw enable
- Check firewall status:
sudo ufw status verbose
This setup secures your Raspberry Pi while keeping essential media server and remote access ports open.
Setting Up Router Port Forwarding for Remote Access
To access your media server from outside your home network, configure port forwarding on your router to direct incoming traffic to your Raspberry Pi’s static IP:
-
Login to your router’s admin panel.
-
Locate the “Port Forwarding” or “Virtual Servers” section.
-
Create forwarding rules for your media server ports:
-
Forward external port 32400 to Raspberry Pi’s IP port 32400 for Plex
-
Forward external port 8096 to port 8096 for Jellyfin
-
Apply and save the settings.
Ensure you avoid using default ports if you want to add an extra layer of security by obscurity; you can map external random ports to internal standard ports.
Securing Remote Connections
Exposing your media server to the internet introduces security risks. Implement these best practices to protect your server:
-
Use VPN Access: Set up a VPN on your home network or Raspberry Pi to create a secure tunnel when accessing media remotely. This prevents exposing your server ports directly to the internet. OpenVPN and WireGuard are popular lightweight VPN solutions compatible with Raspberry Pi.
-
Enable HTTPS Encryption: For media servers supporting SSL/TLS (like Jellyfin or Plex with Plex Pass), configure HTTPS to encrypt data streams.
-
Change Default Credentials: Always change default usernames and passwords on media server software as well as on your Raspberry Pi itself.
-
Use Fail2Ban: Install Fail2Ban on your Raspberry Pi to block IP addresses after repeated failed login attempts, mitigating brute-force threats.
sudo apt install fail2ban
Implementing precise network configuration and secure remote access setups empowers your Raspberry Pi media server with reliable connectivity and robust protection. This ensures a smooth and safe streaming experience whether you are at home or on the go, perfectly aligning with best practices for embedded systems development and fortified network services.

Image courtesy of RealToughCandy.com
Optimizing Performance and Storage Management
Maximizing your Raspberry Pi media server’s performance involves careful consideration of hardware capabilities, efficient use of hardware acceleration, transcoding settings, and strategic storage management. These optimizations ensure smooth playback, reduced latency, and longevity of your media server—crucial factors for providing an exceptional streaming experience on resource-constrained embedded systems like the Raspberry Pi.
Leveraging Hardware Acceleration for Smooth Streaming
The Raspberry Pi supports hardware-accelerated video decoding and encoding, which dramatically lowers CPU usage during media playback and transcoding operations. Enabling hardware acceleration in your media server software (such as Plex or Jellyfin) not only improves streaming performance but also prevents overheating and throttling:
- On Plex Media Server, enable VA-API hardware acceleration by configuring the Plex settings under Transcoder → Use Hardware Acceleration.
- For Jellyfin, install necessary drivers (
libraspberrypi0,mesa-v3d), and enable VA-API hardware-accelerated transcoding through the admin dashboard. - Take advantage of Raspberry Pi 4’s OpenMAX (OMX) and VideoCore APIs which support efficient H.264 and H.265 decoding.
Using hardware acceleration drastically reduces the need for CPU-based transcoding, allowing your Raspberry Pi to handle multiple simultaneous streams with minimal lag.
Optimizing Transcoding and Streaming Settings
Transcoding—the process of converting media to a compatible format on the fly—can be resource-intensive. To minimize performance impact, apply these best practices:
-
Prefer Direct Play and Direct Stream
Configure your media server to use direct play whenever possible, letting client devices handle decoding instead of forcing the Raspberry Pi to transcode. -
Limit Maximum Streaming Quality
Adjust streaming bitrate and resolution settings to balance video quality and bandwidth demand. For example, setting a max bitrate of 720p or 1080p can prevent overloading the Pi’s CPU. -
Use Adaptive Bitrate Streaming
Platforms like Jellyfin support adaptive streaming, automatically adjusting quality based on network conditions and device capabilities, preserving a smooth playback experience. -
Avoid Unnecessary Transcoding
Ensure media files are stored in formats natively supported by your client devices (e.g., MP4 with H.264), reducing the need for the server to transcode.
Efficient Storage Management Strategies
As media libraries grow, managing storage efficiently is essential to maintain server responsiveness and avoid bottlenecks:
-
Utilize External USB 3.0 Storage
Connecting high-speed SSDs or HDDs via Raspberry Pi 4’s USB 3.0 ports delivers faster read/write speeds compared to microSD cards—improving media access times and enabling reliable data streaming. -
Organize Media with Clear Directory Structures
Adopt consistent folder hierarchies (e.g.,/media/movies,/media/tvshows,/media/music) with standardized file naming. This practice facilitates quick metadata scraping and library updates by your media server software. -
Implement Network Attached Storage (NAS) Integration
Mounting NAS shares through NFS or SMB protocols expands your storage capacity beyond local drives and centralizes media management while preserving Pi resource allocation. -
Monitor Disk Usage Regularly
Use commands likedf -hand tools such asncduto keep track of storage utilization, preventing unexpected full disks that disrupt streaming services. -
Schedule Routine Backups
Protect your media collection using automated backup scripts or dedicated tools, especially if using local storage, to avoid data loss due to hardware failure.
By combining hardware-accelerated transcoding, carefully adjusted streaming parameters, and robust storage strategies, your Raspberry Pi media server will provide a highly responsive and scalable multimedia platform. These optimizations not only enhance user experience but also align with best practices in embedded systems programming and resource-efficient server management, making your media server project both technically impressive and practically reliable.
Image courtesy of Jakub Zerdzicki
Customizing Your Media Server Experience Using Programming Skills
Unlocking the full potential of your Raspberry Pi media server goes beyond installation and configuration—leveraging your programming skills in Python or C/C++ allows you to create a highly personalized, automated, and seamlessly integrated entertainment hub. By scripting custom workflows, integrating APIs, and adding embedded system functionalities, you can tailor your media server environment to fit any unique use case or advanced application scenario.
Scripting Automation and Custom Features with Python and C/C++
Programming languages like Python and C/C++ empower you to automate repetitive tasks, enhance media management, and extend server functionalities through customized scripts and daemon processes. Some practical examples include:
-
Automated Media Library Updates
Write Python scripts that periodically scan your media directories to detect new files or changes, triggering metadata refresh commands in Plex or Jellyfin via their APIs to keep libraries always up-to-date without manual intervention. -
Scheduled Maintenance and Backups
Utilize shell scripting combined with Python to automate routine maintenance tasks such as clearing cache, monitoring disk usage, and backing up media metadata or server configurations to external storage or cloud services. -
Custom Notifications and Alerts
Integrate event-driven scripts that notify you via email, SMS, or messaging platforms (e.g., Telegram, Slack) when certain criteria are met—such as when storage nears capacity or new content is added, enhancing server transparency and control. -
Performance Monitoring and Optimization
Develop lightweight C/C++ programs or Python scripts that gather real-time system metrics (CPU, memory, network throughput) to log or dynamically adjust server settings, ensuring consistent responsiveness tailored to your usage patterns.
API Integrations to Enhance Media Accessibility and Control
Most modern media servers like Plex and Jellyfin offer RESTful APIs that allow developers to interact programmatically with server features. Harnessing these APIs lets you build advanced integrations such as:
-
Custom User Interfaces or Dashboards
Design web or mobile apps in Python (using Flask or FastAPI) that provide simplified remote control of playback, library browsing, or user profile management tailored specifically to your household or audience. -
Smart Home Automation
Connect your media server with smart home assistants (Amazon Alexa, Google Assistant) or home automation platforms (Home Assistant, Node-RED) to control playback via voice commands or trigger media-related events in response to environmental sensors or routines. -
Third-Party Service Integration
Synchronize your media server with external content sources, metadata providers, or notification services using API calls, enriching your media library data or automating content acquisition pipelines.
Embedding Additional Microcontroller Functionalities
Beyond software customizations, your embedded systems expertise opens doors to physically augmenting the Raspberry Pi media server setup by interfacing with microcontrollers or sensors via GPIO or communication protocols:
-
Physical Media Controls and Displays
Implement custom-built hardware controls (buttons, rotary encoders) in C/C++ to manage playback actions without a remote, or drive LCD/OLED displays to show currently playing media, network status, or system metrics. -
Environmental Monitoring and Adaptive Behaviors
Integrate temperature sensors or light sensors to monitor system conditions and trigger cooling fans or adjust screen brightness automatically, enhancing system reliability and user comfort. -
Power Management and Smart Scheduling
Use microcontroller-based timers or relays to schedule media server power cycles or integrate with UPS systems for graceful shutdowns during power outages, ensuring data integrity and hardware safety.
Bringing your programming expertise and embedded systems knowledge into your Raspberry Pi media server project transforms a standard setup into a dynamic, intelligent multimedia ecosystem. This level of customization not only enriches user experience but also sharpens your skills in scripting, API utilization, and hardware-software co-design—cornerstones of advanced Raspberry Pi projects and embedded system development.
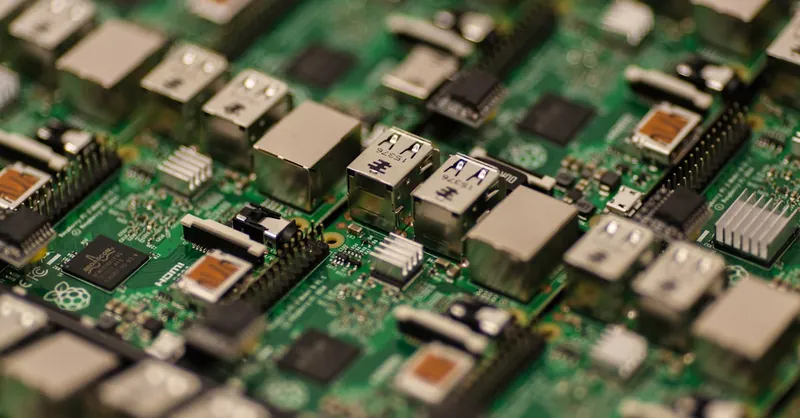
Image courtesy of Craig Dennis